The Advertiser Dashboard is your self-serve platform for everything related to growth and engagement. Here you can add, edit, and manage your applications, campaigns, and creatives, as well as view detailed reporting on your campaigns and creatives.
If you are a new user, follow the instructions in the article to set up your account, create an application, define some campaigns and add some creatives.
Access the Advertiser Dashboard at https://advertiser.vungle.com/login and enter the email that serves as your username, and then your password.
Account Settings
Edit your account settings at https://advertiser.vungle.com/account, or select My Account from the drop menu in the top right corner.
Account Types: Pre-Pay and Post-Pay
Vungle has two budget types for an account: pre-pay and post-pay. All new users start with pre-pay on our advertiser platform.
- Pre-pay: For pre-pay accounts (new users) you can add funds by editing Available Funds and adding a new payment option (instructions below).
- Post-pay: Post-pay accounts are a billed payment option; contact your account team to arrange the details.
Add Funds to Your Pre-Pay Account
In the My Account page, click Add More Funds. Enter your payment details.
- Payment Type: Credit card / Alipay
- Amount: For our self-serve customers who do not have a dedicated Account Manager, we require a $5,000 minimum prepayment.
- Credit Card: Enter your credit card information.
- Billing Country
Make sure your payment information is correct and complete, and click Process Payment.
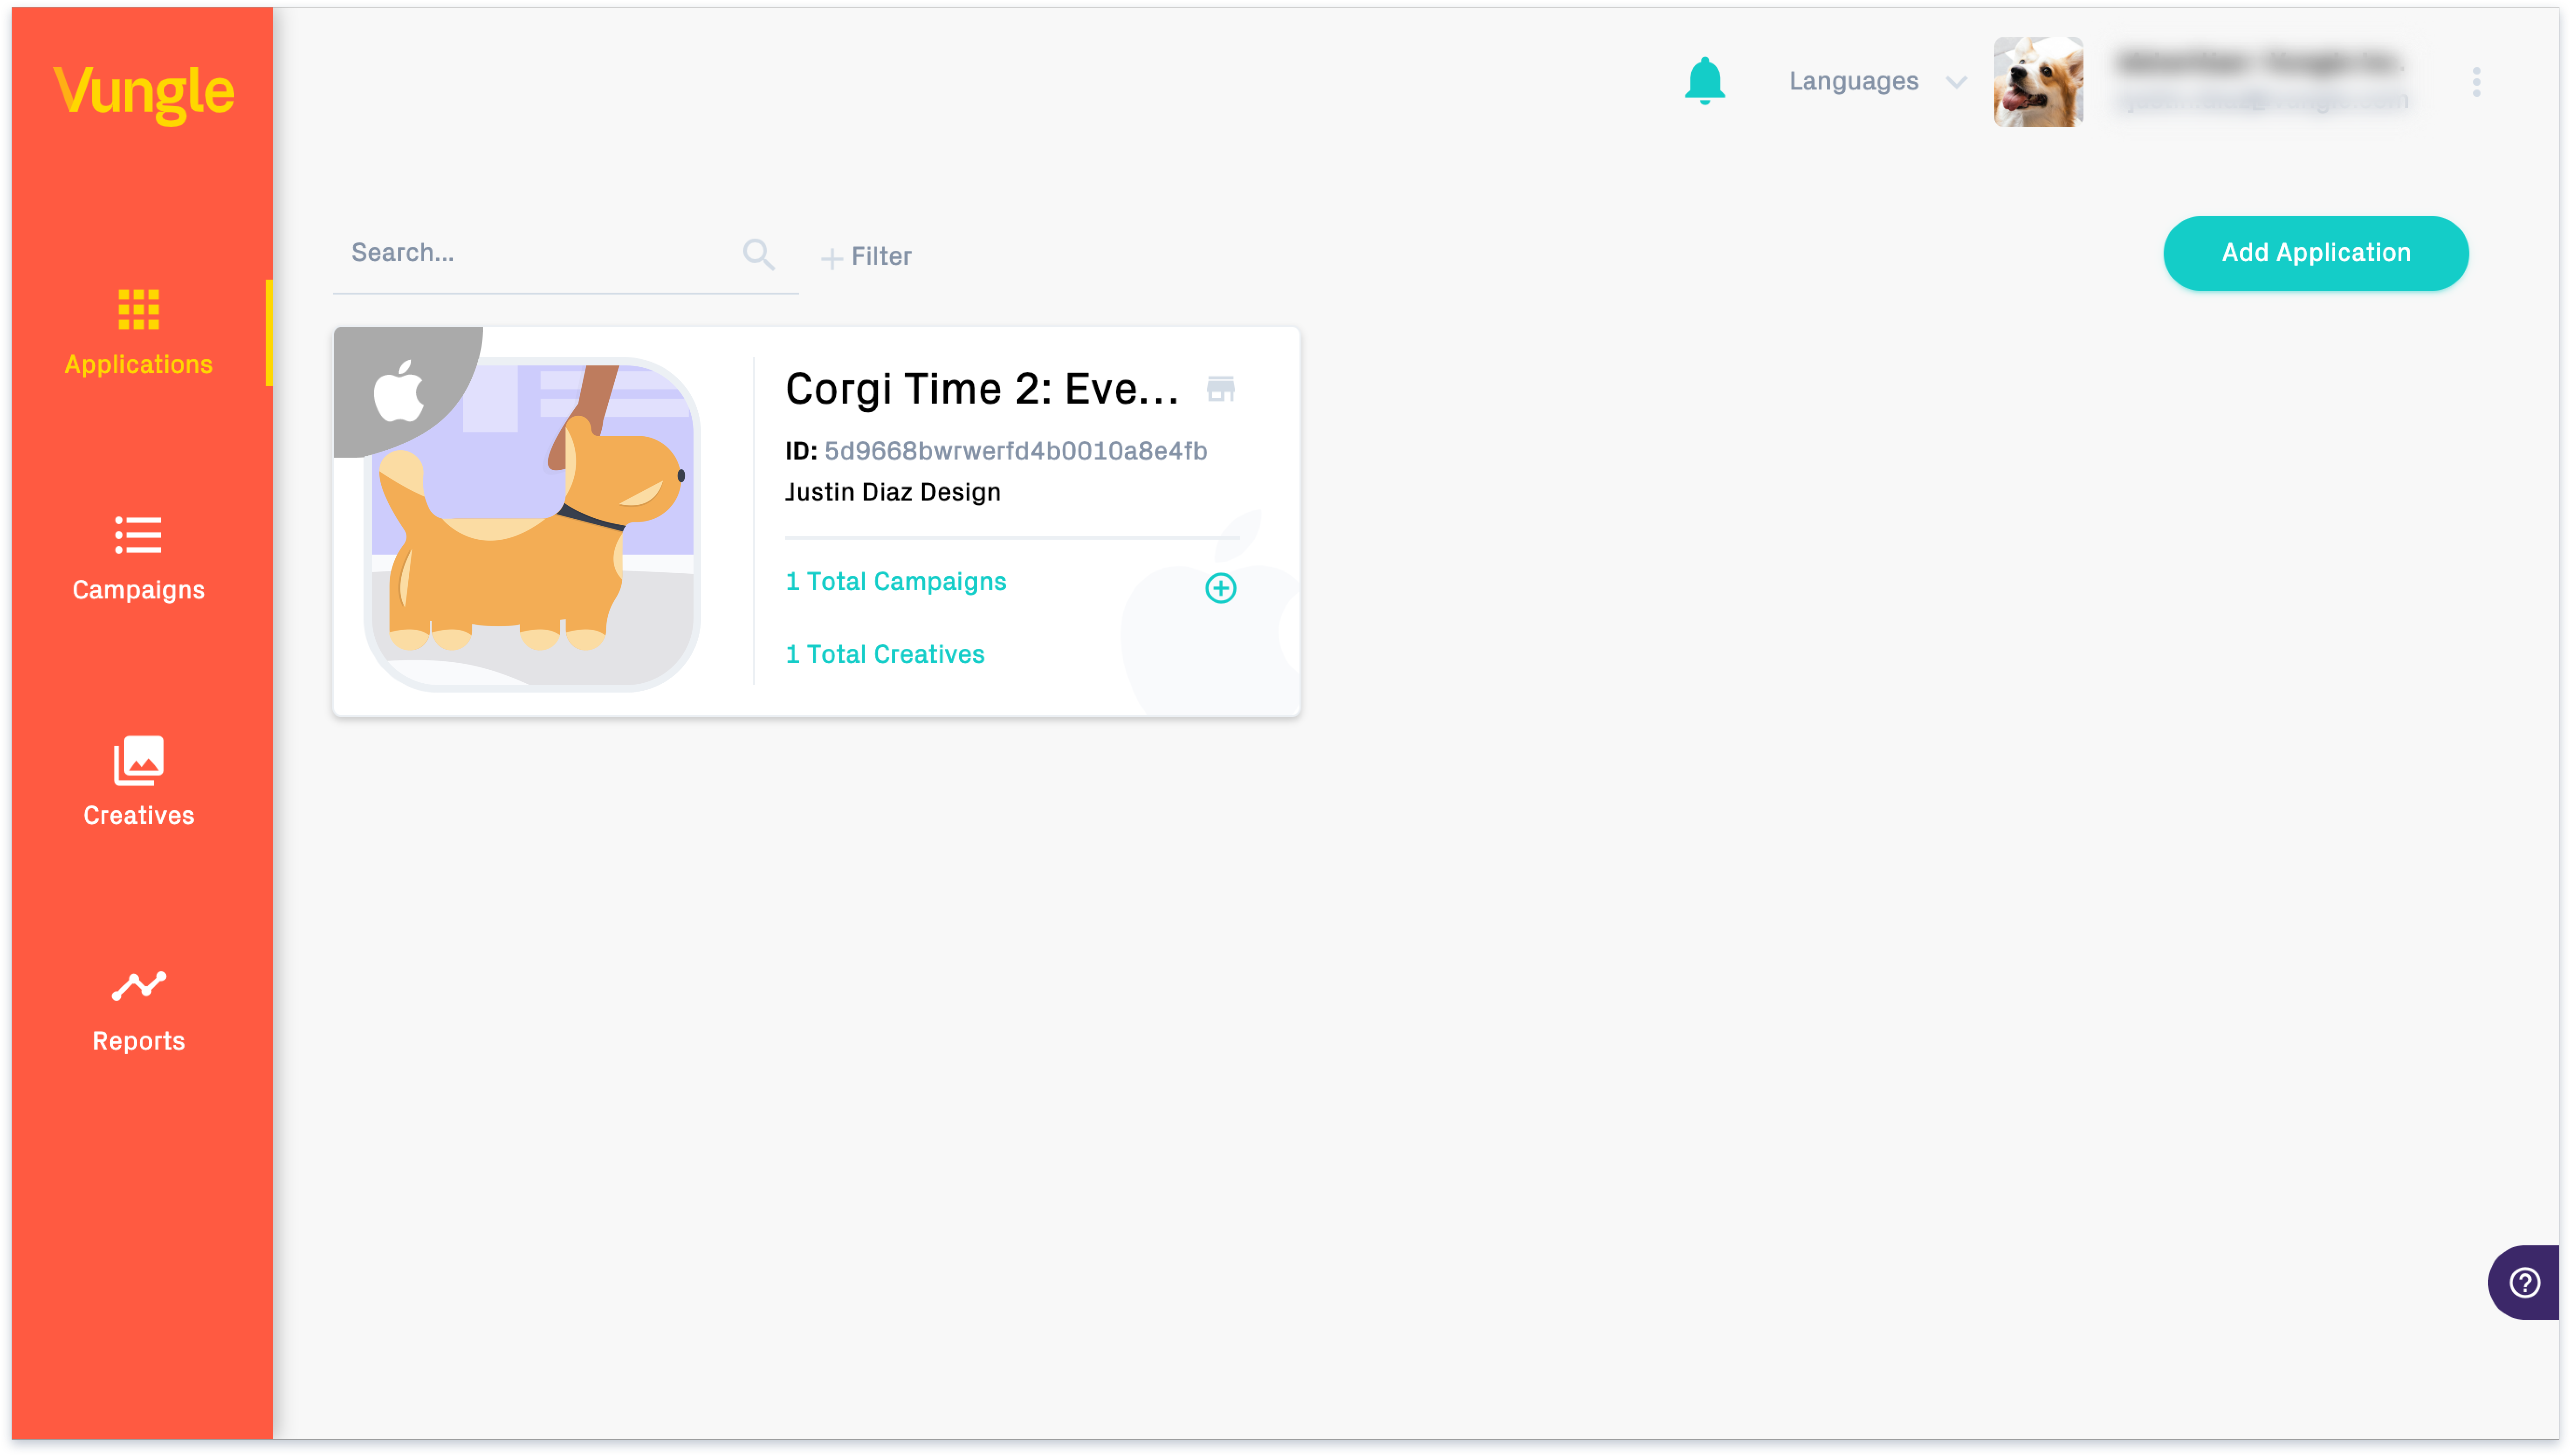
Applications
Access the Applications pages at https://advertiser.vungle.com/applications.
- Search for the app you want to edit by name, or filter your apps by platform to narrow your search. On each application card, use the total campaigns & total creatives quick-links to view more in-depth information about your application.
New Users
- Begin by adding your application to your account.
- Click Add Application and select its operating system. We support iOS, Android, Amazon and Windows. Based on the platform, you will need to provide specific criteria to locate your live application in the particular store.
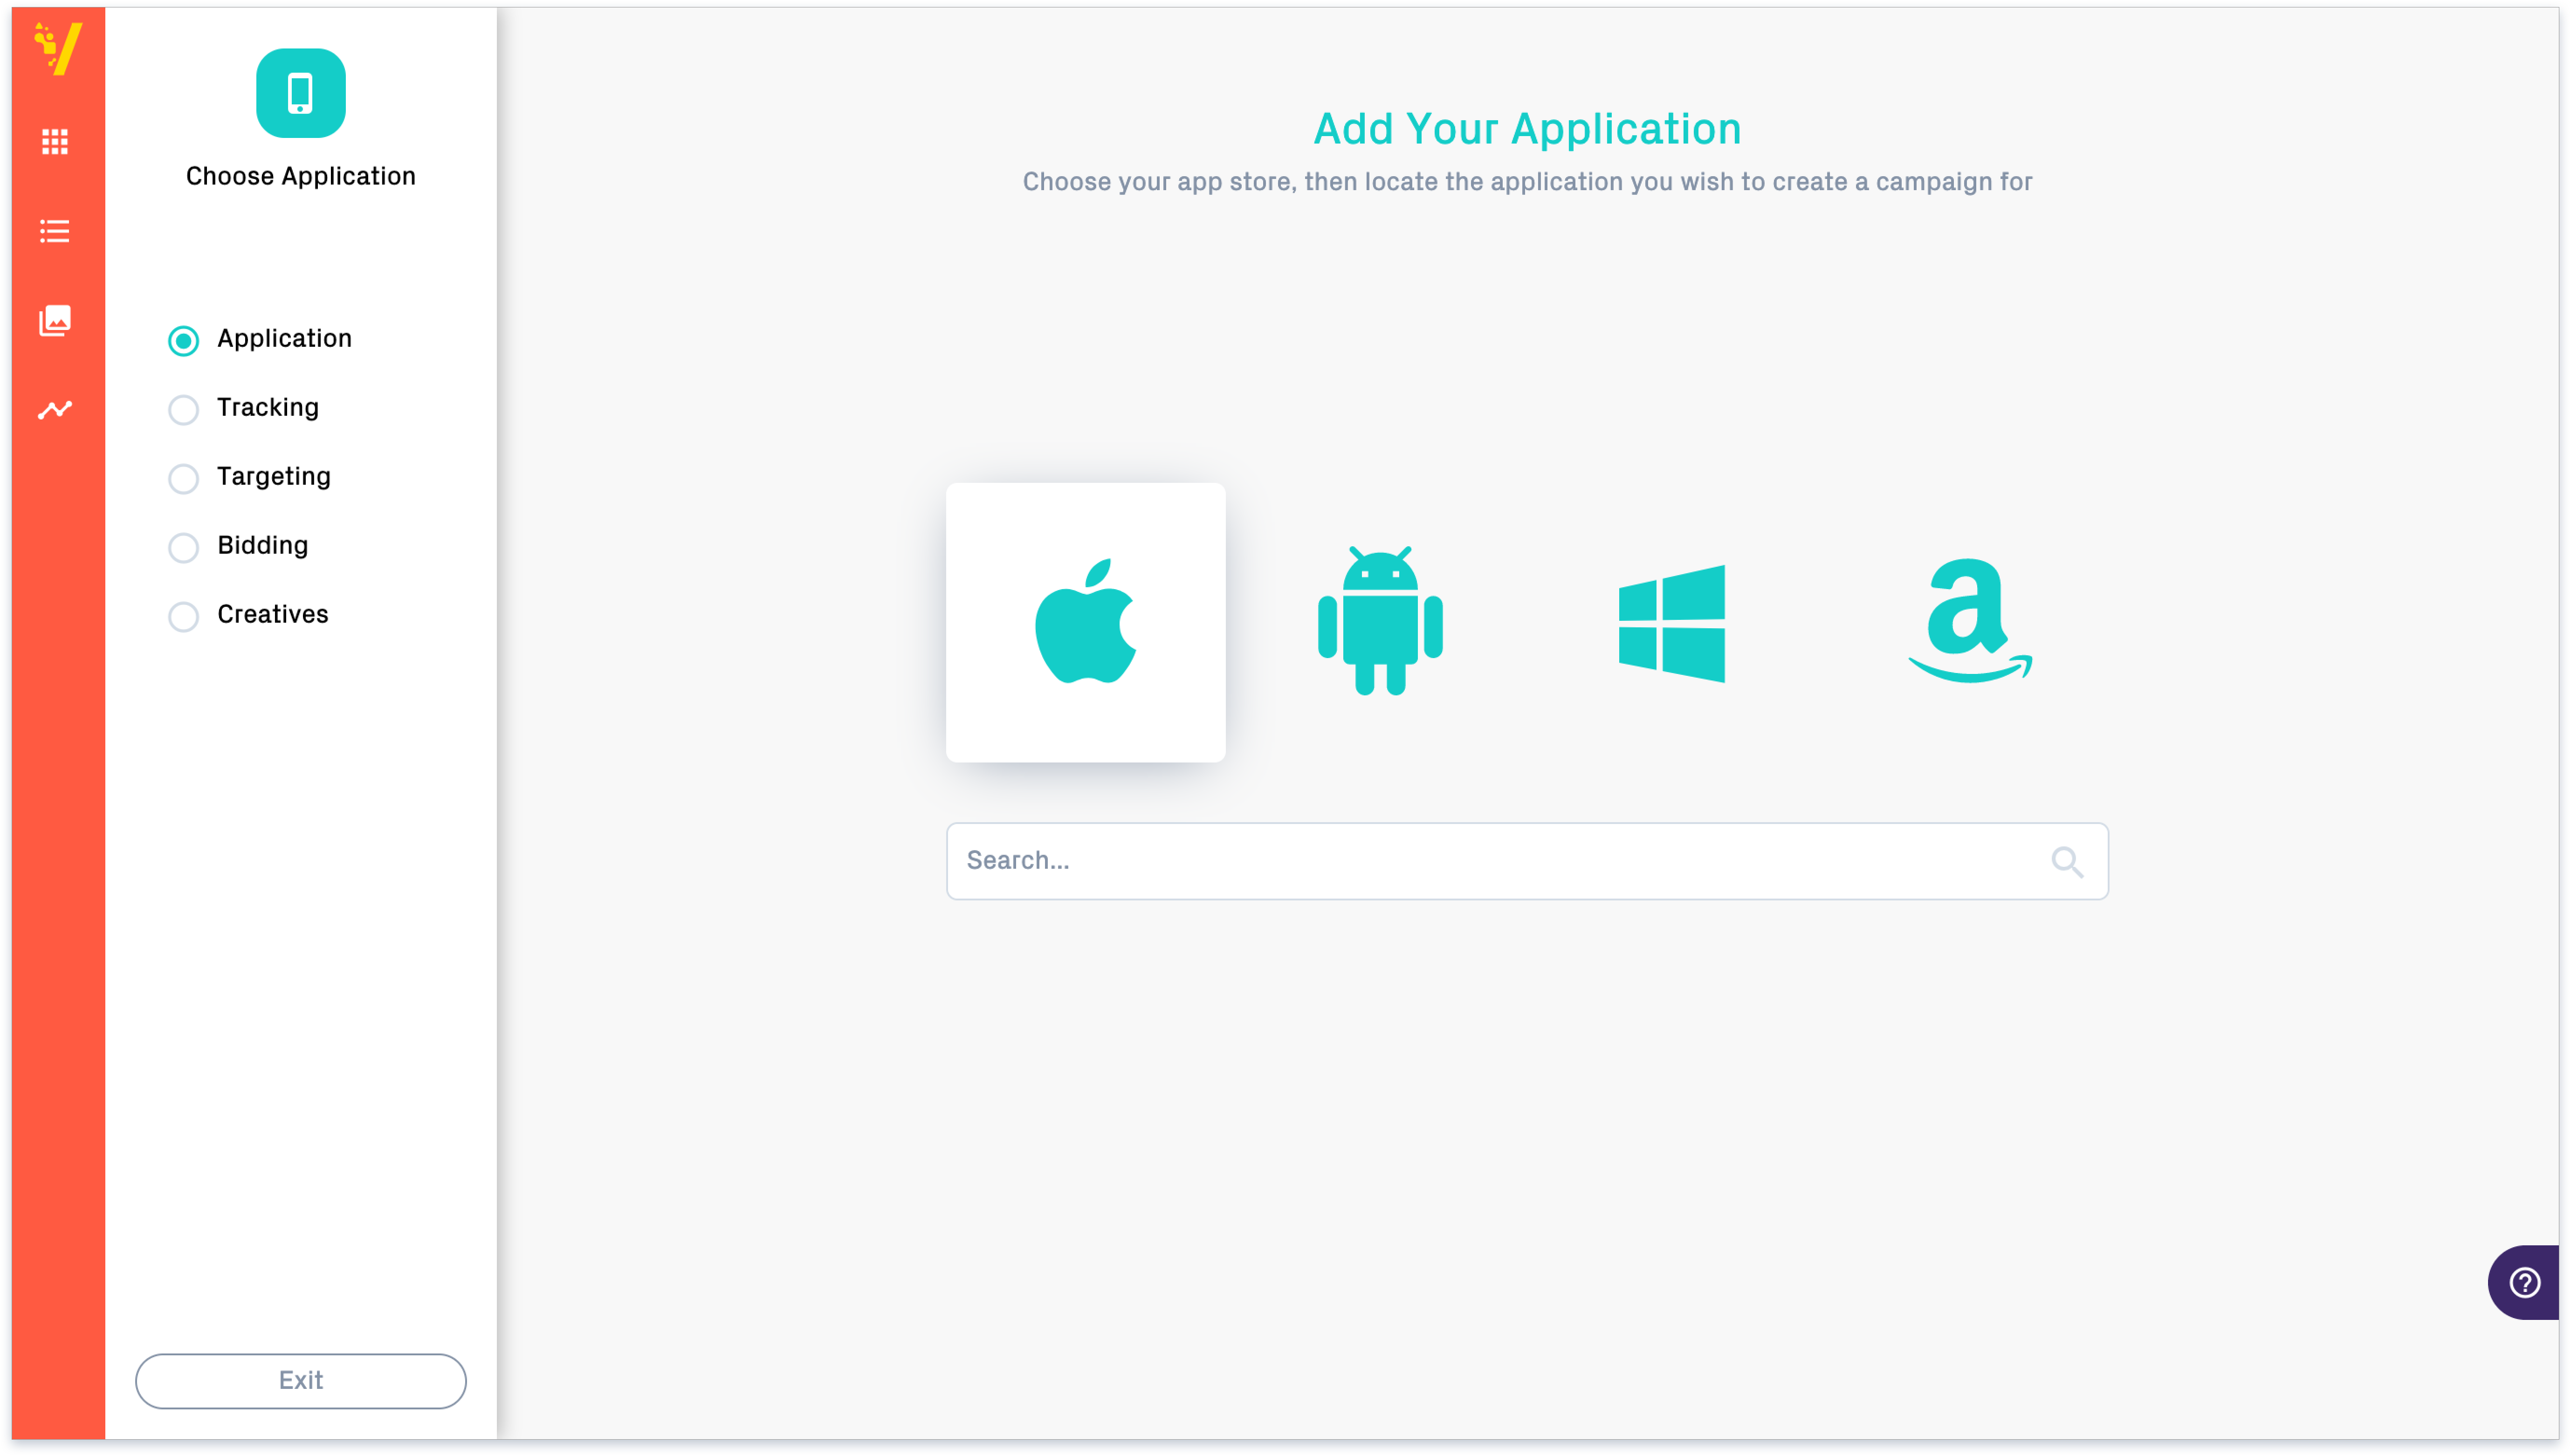
- Click Save.
- All subsequent screens are now more granular; you will be entering information at the campaign and creative levels going forward.
Note
You cannot change the platform later
Campaigns
https://advertiser.vungle.com/campaigns
The group of Campaigns pages guide you through all the settings that define a campaign. These pages include Tracking, Targeting, Bidding, and Creatives. You fill them out when adding a new campaign or when editing an existing campaign. You can click Review from any page in the campaign flow as you work.
Existing Users
The main Campaigns page lists all your campaigns, their active dates, budgets, bids, and campaign types. You can learn the status of each campaign on this page as well: campaigns can be Active (serving ads) or Paused (not serving ads).
- When you open an existing campaign, the left panel displays checkmarks next to settings that are complete and blank circles next to those that you must still fill in.
- Hovering over a campaign name displays details about its status. If the campaign is Not Serving ads, you can view the reason(s) to later fix them.
- Clicking on a campaign takes you to edit pages where you can change the campaign’s settings.
New Users
You can navigate to your desired campaign in several ways:
- You can start at the Applications page, select the app to which your campaign belongs, and then select the campaign.
- You can start right at the Campaigns page, which lists all your campaigns regardless of app. To find your campaign, you can search by typing its name or filtering on attributes such as applications, platform, status, start and end dates, and bid types.
You can also add a new campaign from this screen by clicking Add Campaign. A new page then lets you either select the app to which the campaign will belong, or add a new app altogether. - If you are defining a new app, the Platform guides you to the Campaigns page to create a campaign for your new app.
Tracking
While setting up a campaign, you will need to provide MMP URLs to properly configure attribution. In the Tracking section of the Campaign builder, you will be able to edit these options.
- Select your appropriate network for your campaign.
- Based on the MMP provider, you will be asked to provide unique information related to your application (you can reach out to your tracking provider for more information). Enter the tracking URL you use to receive TPATs for click events, then add additional customizations. If you have a dedicated Vungle Account Manager, feel free to reach out to them for help.
- For view-through or impression tracking, select each event you want tracked in the Impressions and Events section, then enter the tracking URL for that event.
You can choose from Creative Start (when 0% of the video has been viewed), 1st Quartile (when 25% of the video has been viewed), Midpoint (when 50% of the video has been viewed), 3rd Quartile (when 75% of the video has played), and additional options.
Targeting
Set up or edit your campaign targeting in this page. You can target countries, device types, connection types, and OS versions. You can also whitelist or blacklist select Publishers.
Note
Limiting your targeting options severely reduces your available impressions.
We offer several targeting options.
- For Operating System, enter a range of release versions to target.
- To whitelist or blacklist one or more Publishers, enter the Publisher IDs separated by commas, spaces, or newlines. You can find Publisher IDs in the Platform Reporting section, or by using the Advertising Reporting API.
- Because whitelisting and blacklisting can have a serious impact on your campaign, we recommend that you first run a campaign without either.
Bidding
Use the bidding page to set up or edit how your campaign operates.
- Enter the Bid Amount.
- Enter a Daily Budget for the campaign to set the maximum spend per day. Note that a Daily Budget is effectively a target, due to delays in conversion.
- Enter a Total Budget to set the maximum spend target for the entire campaign. The campaign will pause once the budget is exhausted.
- For campaigns that are already running, you’ll be able to use our Multi-Bidding feature
Learn How to Use Our Multi-bidding Feature
Creatives
Note
If you are in the campaign builder, you will most likely be adding new creatives. If you are looking through your existing creatives, your creative experience will be a little different.
Existing Users
The main Creatives page displays all the creatives you have defined so far. You can learn the status of each creative on this page as well; creatives can be Active (serving ads), Pending (under Vungle review), or Paused (not serving ads). If the creative is Not Serving ads, you can view the reason(s) to fix them later.
New Users
No creatives? Good news! We offer you the ability to create them using our builder.
The Creatives page is divided into panels to seamlessly create creatives to serve on our network.
- The bottom left panel displays various creative assets you have uploaded; these include videos and images.
- Drop the assets you want to use for a specific creative into the top left panel.
- The upper right panel is devoted to templates. Which templates are enabled depends on which assets you have dropped into the top left panel. Hover over a template to find out which assets it requires. Selecting a template completes the construction of your creative.
- You can now attach it to your campaign in the lower right panel.
Reports
https://advertiser.vungle.com/reports
Use the Reports pages to examine the performance of your campaigns and creatives. The main Reports page displays your total impressions, clicks, installs, and spend for the last seven days. Beneath it is a list of your apps and campaigns.
Above the metrics, you can select whether to view data for either campaigns or creatives. You can then view data for all your campaigns or creatives, or find a specific campaign or creative using the Search box. Select a date range and up to two metrics for your report.
Additional Reading
For more Advertiser Self-Serve information, please refer to: