Use this guide to integrate your Mobile Measurement Partner (MMP), sometimes known as Third Party Attribution Tracking (TPAT) partner, with Vungle, to postback Installs and Events to Vungle.
Contents
Setting up Click URLs and Impression URLs
Setting up Click URLs and Impression URLs
In order to perform successfully on the Vungle platform, campaign click events are required, and impression tracking events are also recommended. Following is how to get Click URLs and Impression URLs from some main tracking partners.
Vungle Macros for Tracking URLs
See below for a list of Vungle macros you can use in your tracking URLs:
{{{aaid}}}: Google's Play Services Identifier for Advertisers (*required){{{app_id}}}: a Vungle App ID to identify your app in our system (*required){{{id}}}: a 24-character ID that is unique to each ad delivery (*required){{{ifa}}}: Apple's Identifier for Advertisers (*required){{{campaign_id}}}: a Vungle ID identifying the campaign in our system{{{campaign_name}}}: the name of the campaign{{{creative}}}: the name of the creative{{{isu}}}: a fall back identifier, this is the OpenUDID for iOS and Android ID for Android (because of Apple's forced deprecation of OpenUDID, this is no longer preferred){{{site_id}}}: a Vungle ID identifying the source; the app in which the ad was played
For a complete list of tracking macros and help, visit the Tracking URL Macros page.
Enabling View-Through Attribution
Because the majority of ad networks have view-through attribution enabled, we recommend that you do the same for Vungle to produce an accurate performance comparison of our network.
Adjust
1. Install Postback Setup
- Choose All Settings from your app's adjust dashboard.
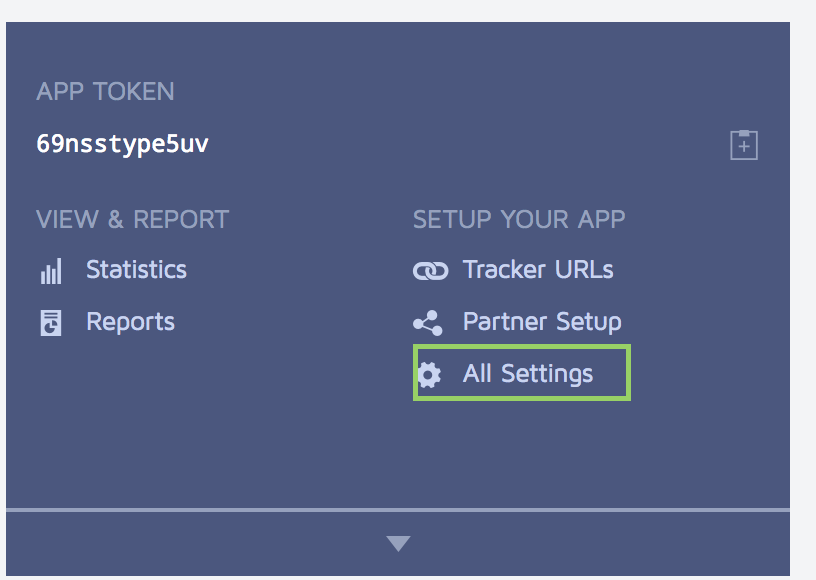
- Go to Partner Setup.
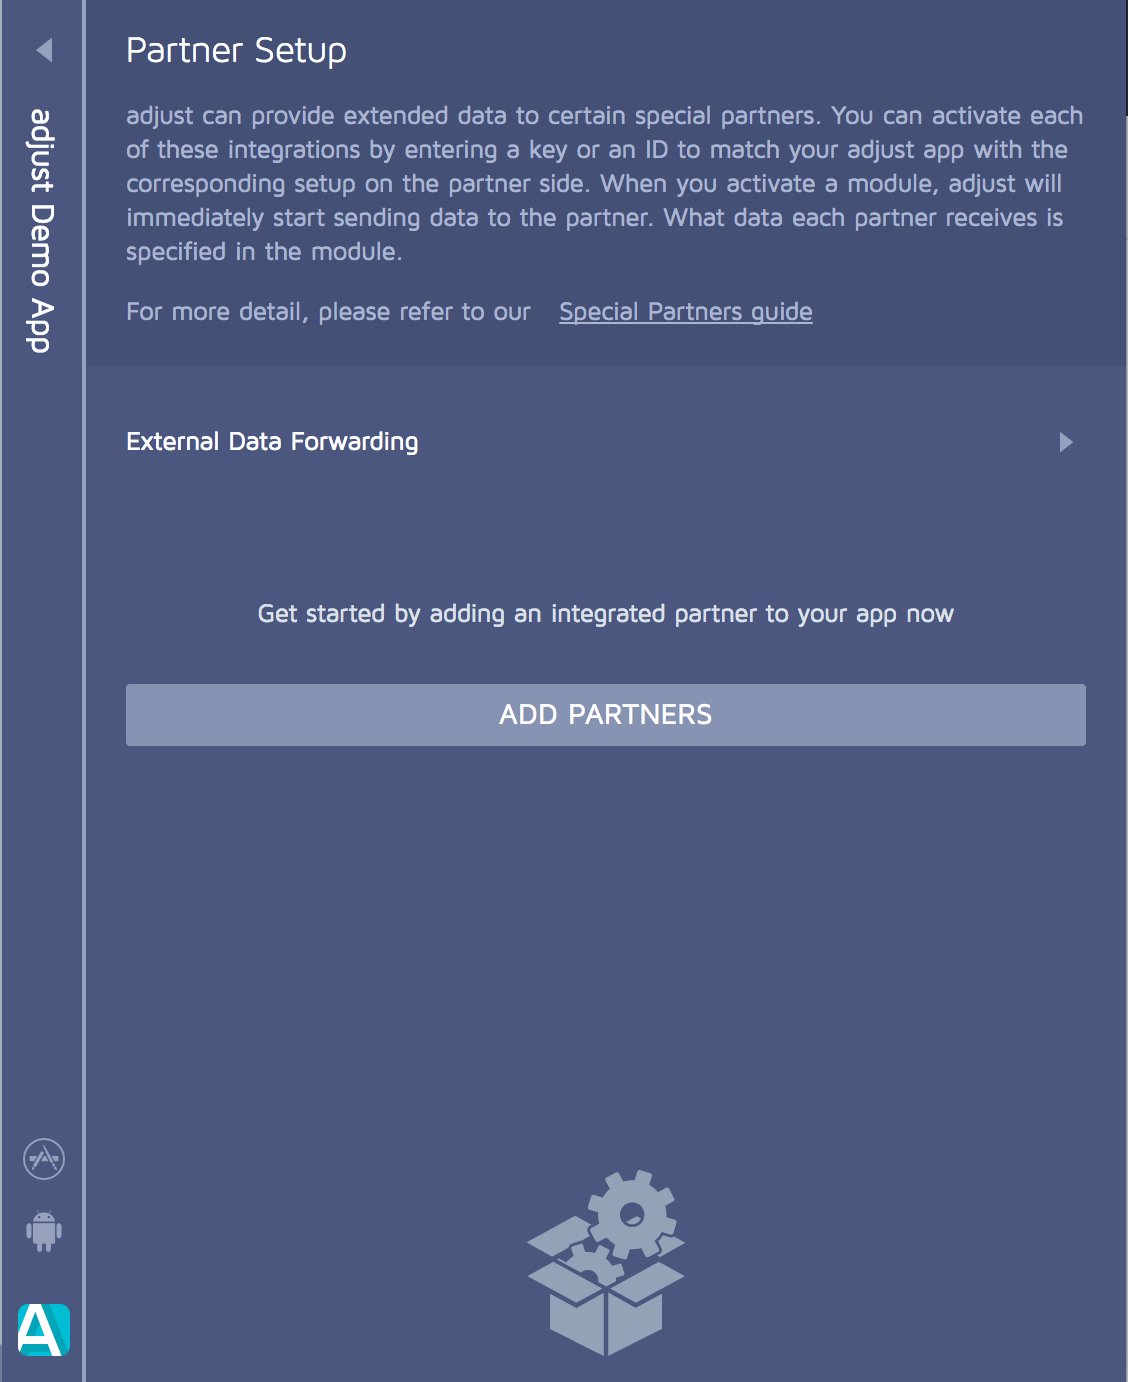
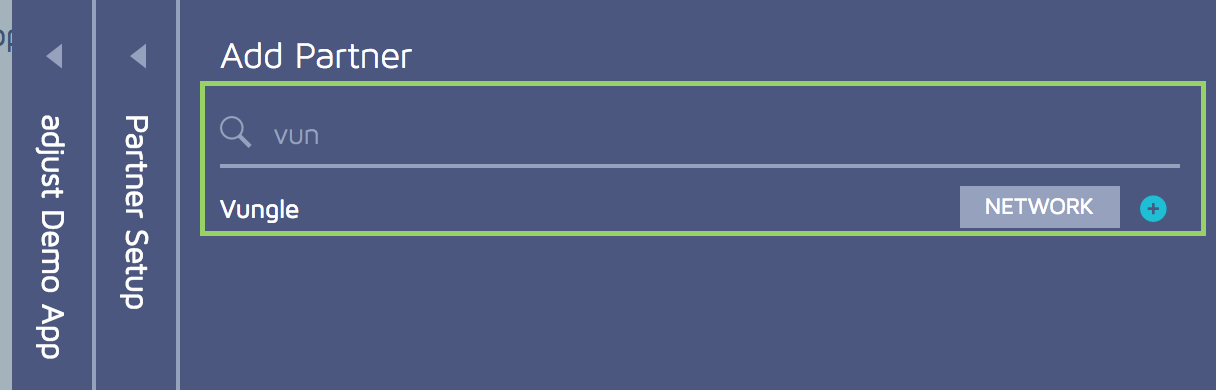
- Add Vungle as a partner.
- Input the Vungle App ID you received from Vungle.
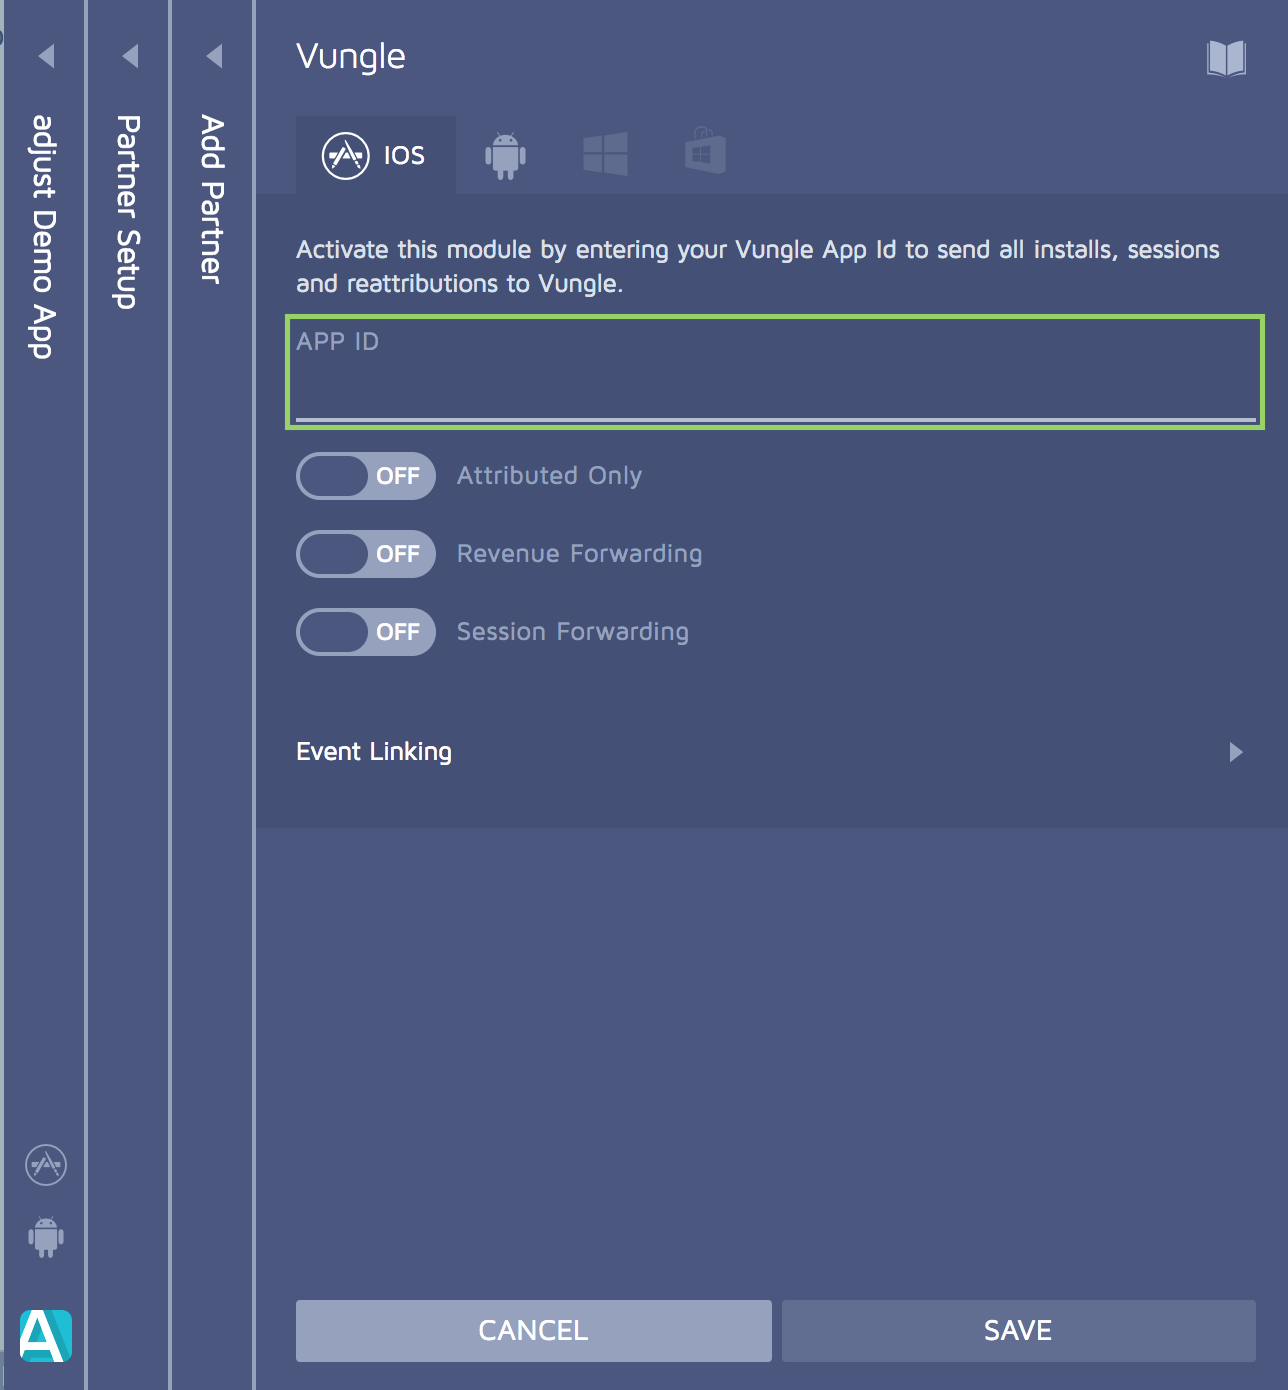
- Click Save.
2. Creating a Click Tracker
If you wish to generate a tracker:
- Select Trackers and choose Vungle as the network.
- Click New Tracker and name your tracker.
- Click Customize.
This will create a click URL and an impression URL, which you can share with your Account Manager.
3. Post-Install Events Postback Setup
- Within the Vungle Partner Setup, turn on Revenue Forwarding and Link Events.
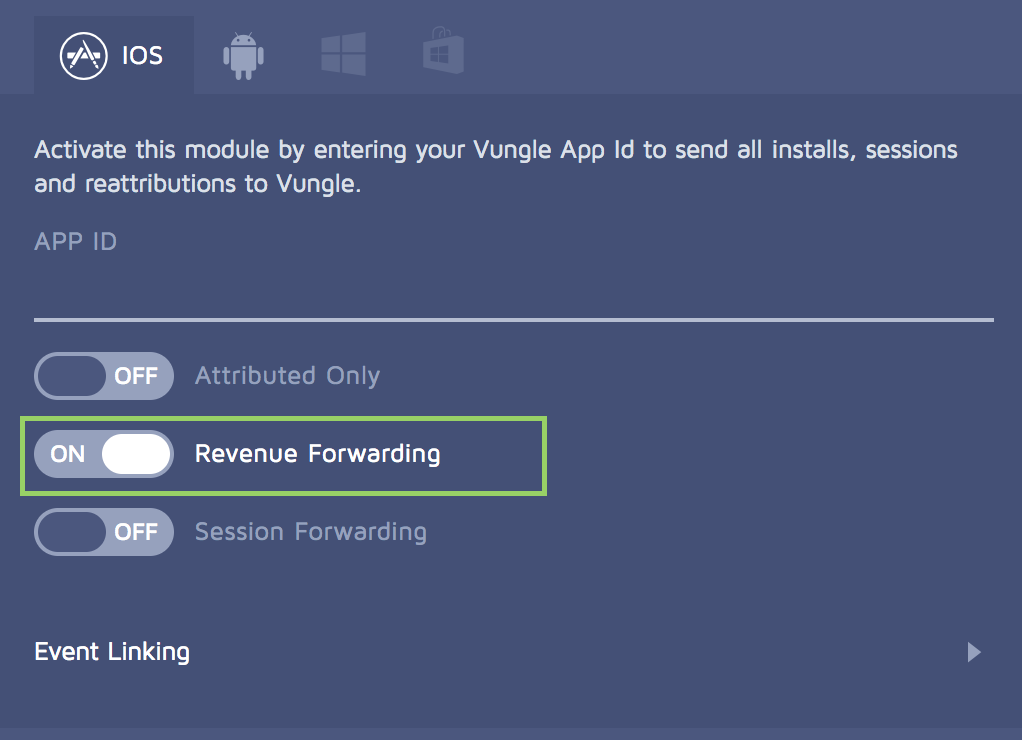
- Name events the way you want them to be sent to Vungle.
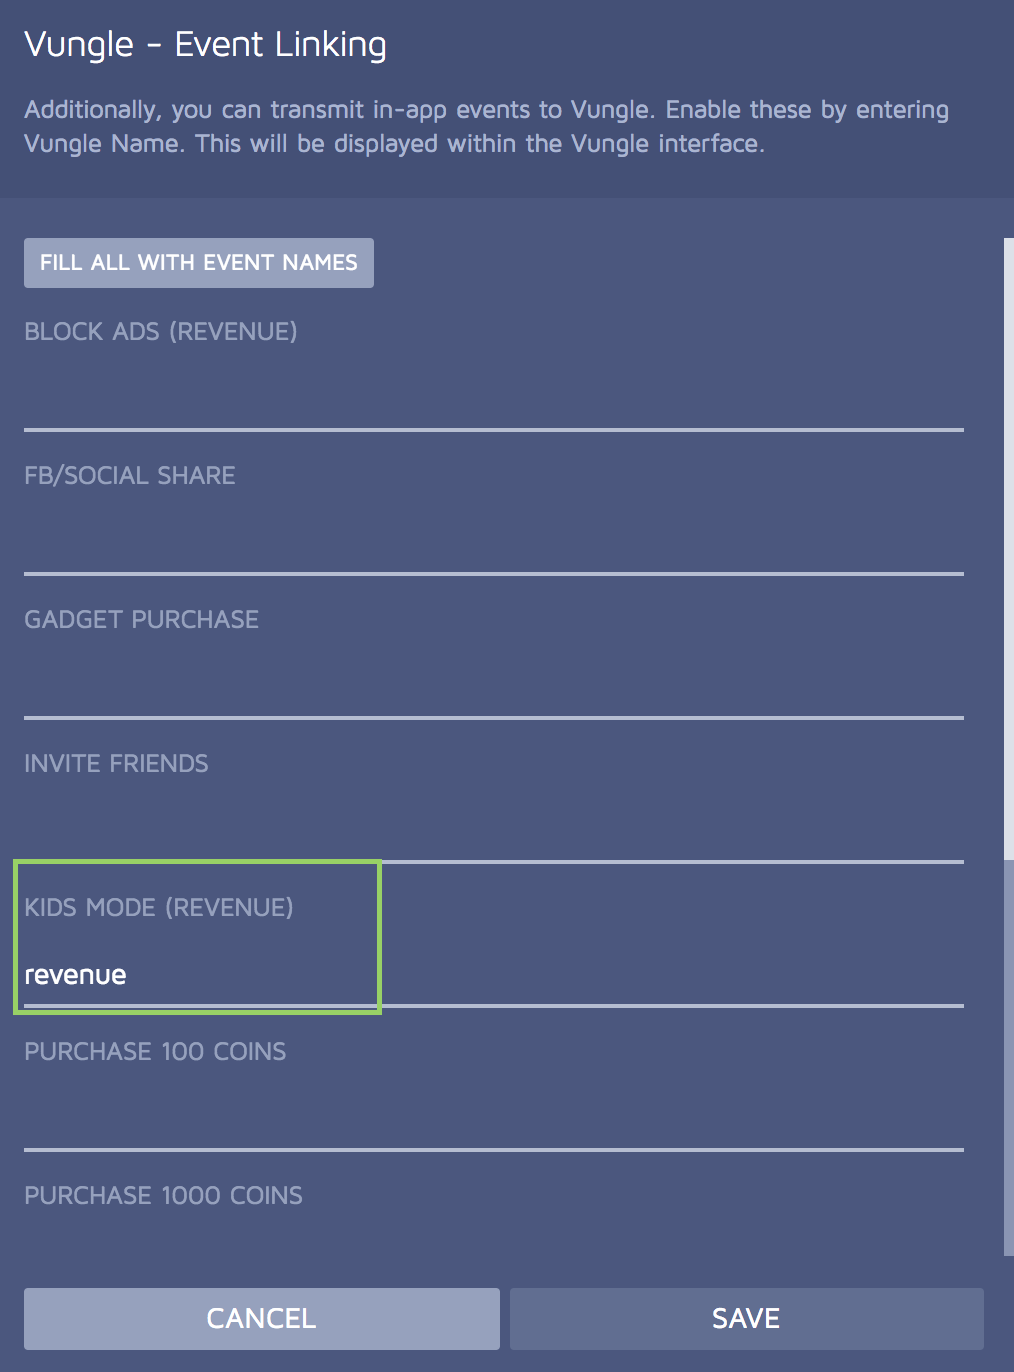
- Click Save.
Appsflyer
1. Setting up Vungle as a Partner and Setting the Click URL
- Set up the Campaign.

- Configure Vungle as partner.
- Generate the Tracking URL. Click the Vungle logo to open the Vungle Configuration window.
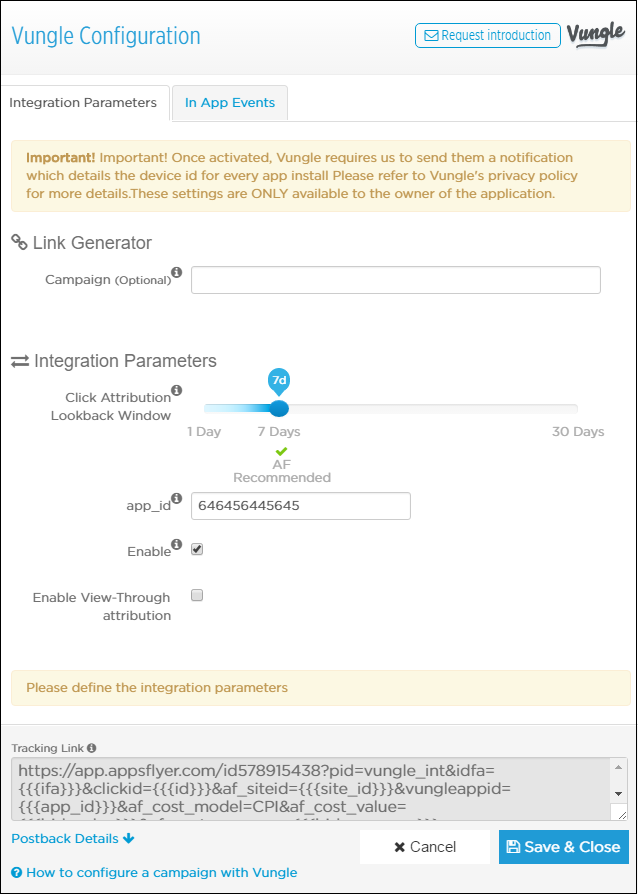
- Enter the name of your campaign in the Campaign text field. This is optional.
- Set the time frame of the Click Attribution Lookback Window according to your agreement with Vungle.
- Insert the Vungle App ID that you have received from your Vungle Account Manager.
- When you select Enable, Vungle is notified of all installs. Once you check the Enable box, Vungle is notified that integration is complete.
- Copy the tracking link and send it to your Vungle Account Manager.
- For setting View-Through Attribution, first select the Enable View-Through Attribution option and then set the time frame of the View-Through Attribution Lookback Window according to your agreement with Vungle.
- Copy the View-Through tracking link and send it to your Vungle Account Manager.
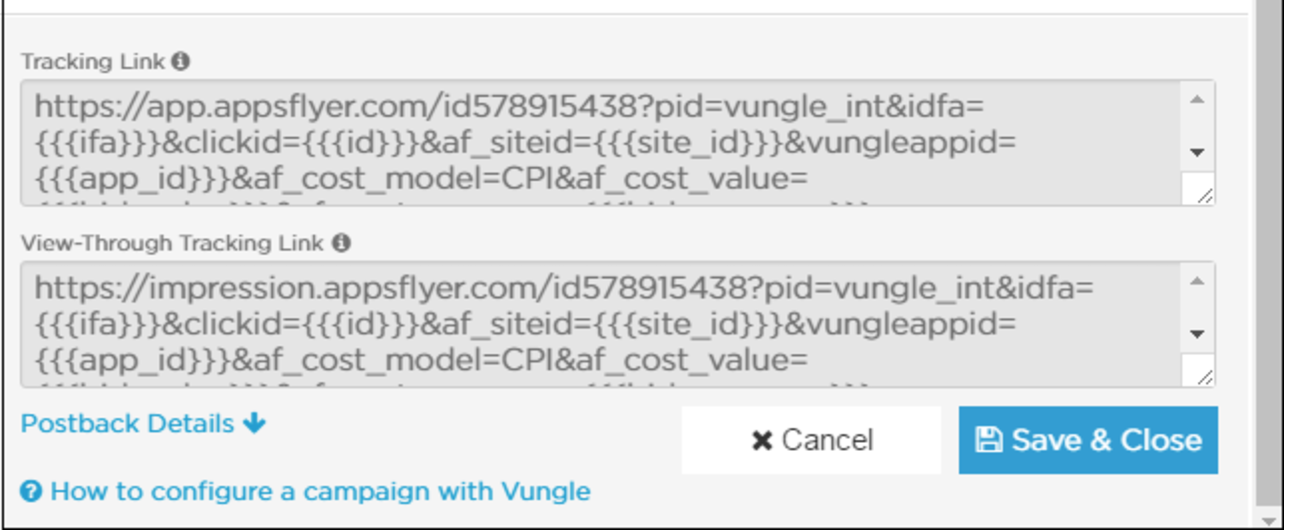
- Click Save & Close
Configuring In-App Events
- Select to send either only Vungle-attributed install in-app events or All in app events.
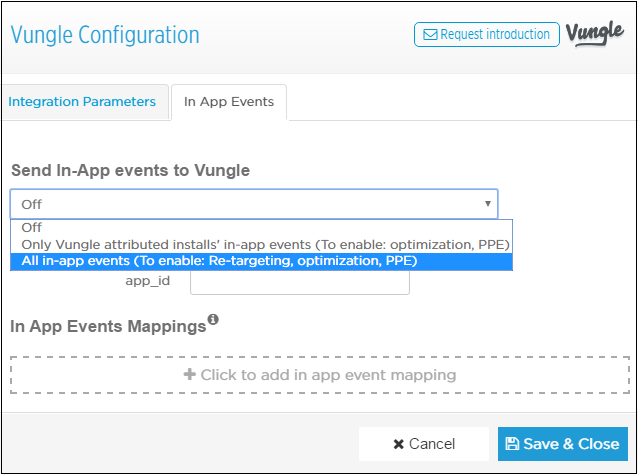
- Click +Click to add in app event mapping and map the events you want to send to Vungle.
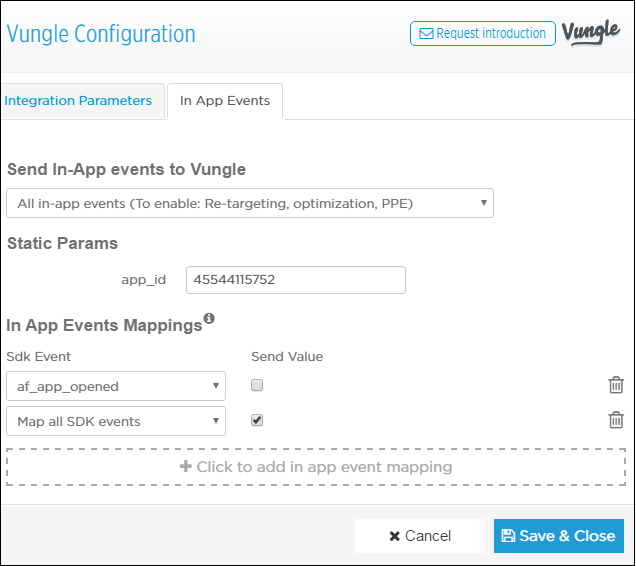
- Click Save, and Close.
Kochava
Click URL Setup
- Locate your app > Select App Tools > Campaign Manager > Add a Campaign > Enter Campaign Name > Enter the Default Destination URL > Submit.
- To set the click/impression URL, select Edit Tracker. Click and Impression URLs will be provided to you based on the macros integrated into the template.
- Copy the Click and Impression URL and enter them into the Campaign tracking page and/or send them to your Vungle Account Manager.
Postback URL Setup and Post-Install Event Sharing
Kochava can send post-install events to Vungle. The easiest way is to choose which parameters to share with Vungle by using Kochava's Certified Partner option. To set the postback URL, select App Tools > Partner Configuration > New Configuration. Select Macro (s) to be passed within the Destination URL > Save.
TUNE
1. Click URL Setup
- Add your app in your MAT dashboard.
- For best results, Vungle recommends setting View Through Attribution when you first integrate Vungle in TUNE. If you want to enable it, do so in the Attribution Settings page.
- Create Measurement URL by selecting Click. In the same window you can create the Impression URL, by selecting Impression instead of Click.
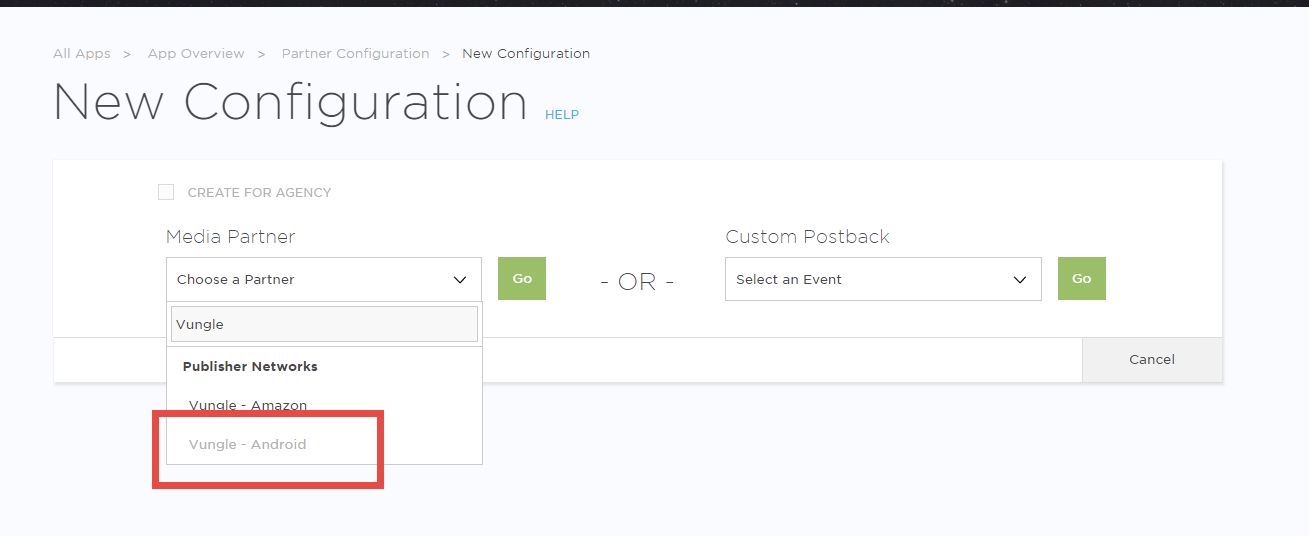
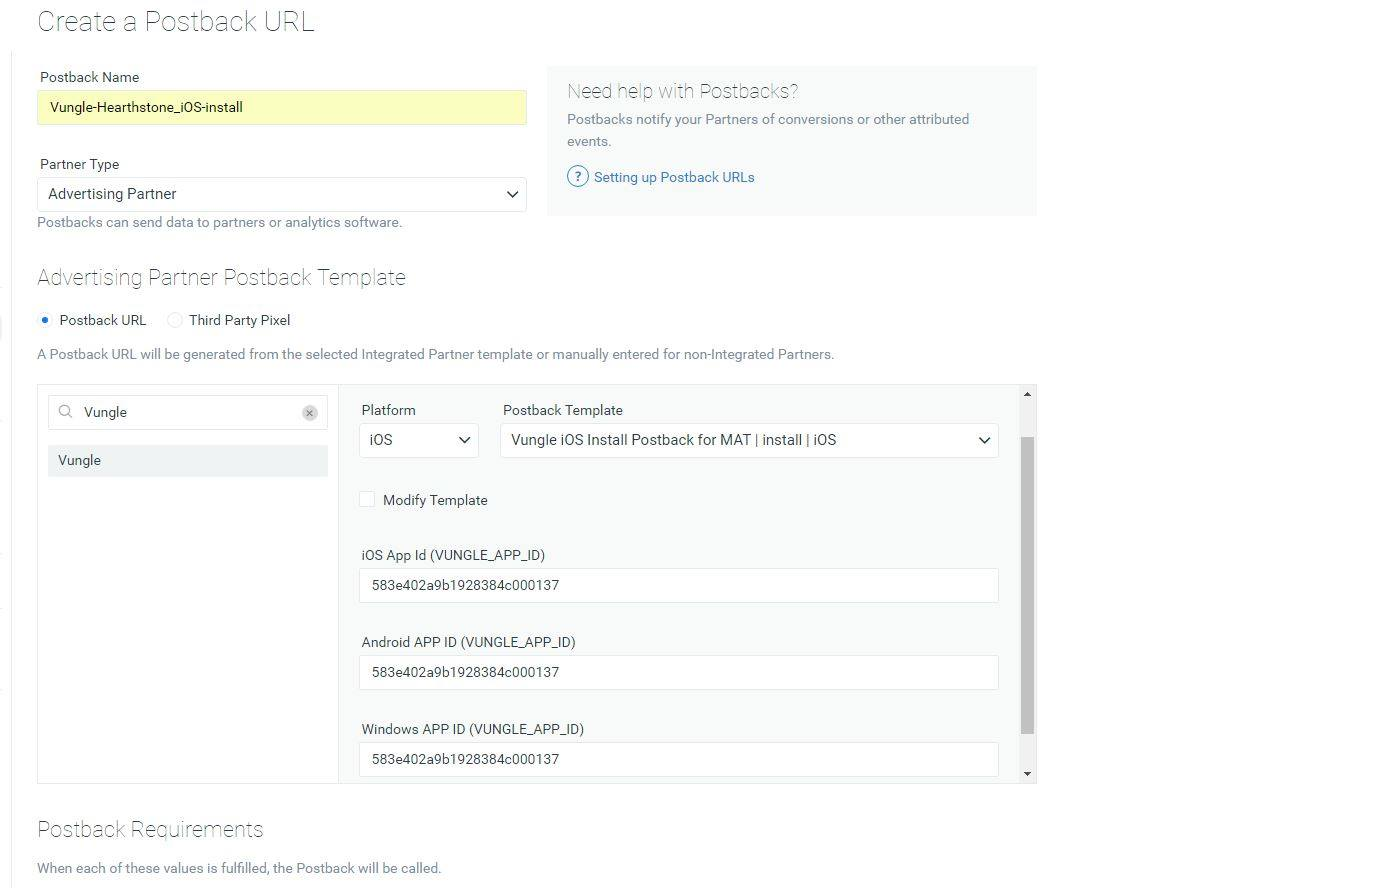
2. Create a Postback URL
- From the Partners menu select Postback URLs.
- Choose your desired postback name.
- Search for Vungle in the Postback Template window.
- Choose your app’s platform: iOS, Android, or Windows.
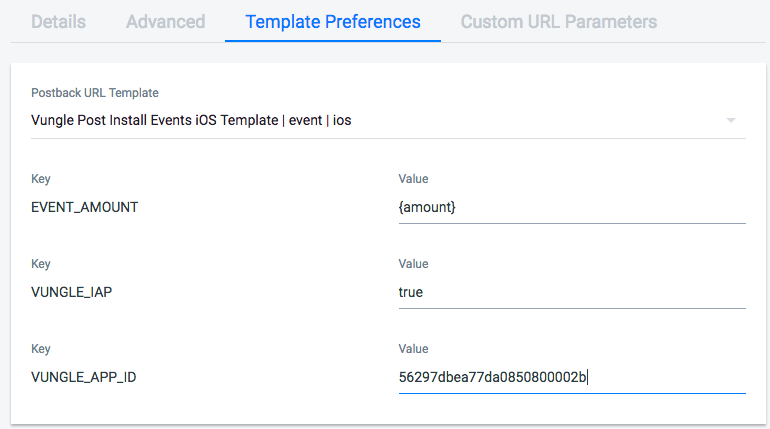
- TUNE’s template will automatically populate the same Vungle App ID for all rows. You can ignore that and proceed to select a different platform, then fill in the appropriate Vungle App ID, which you received from your Account Manager.
- Click Modify Template to see and modify the template postback URL. You can either add or delete any macros.
3. Post-Install Events Postback Setup
- Log in to Attribution Analytics.

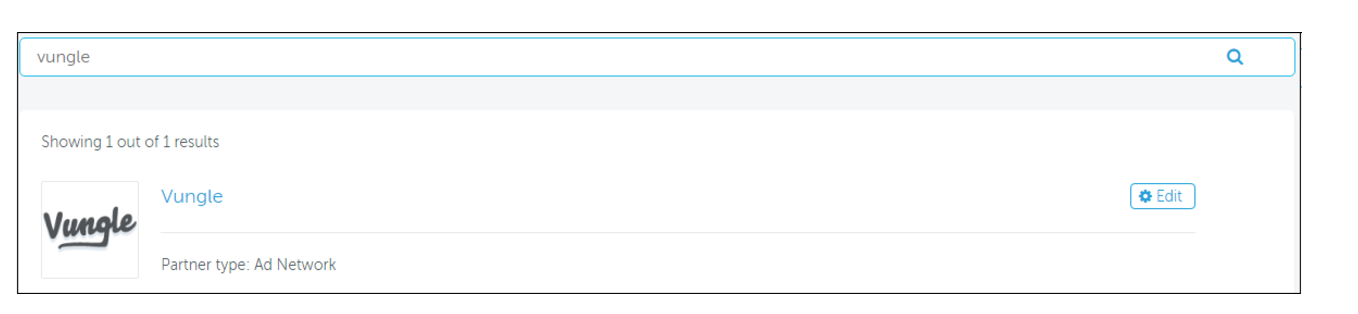
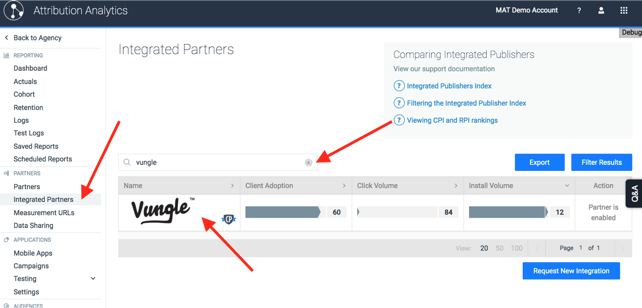
- If you haven’t already, integrate Vungle as a partner.
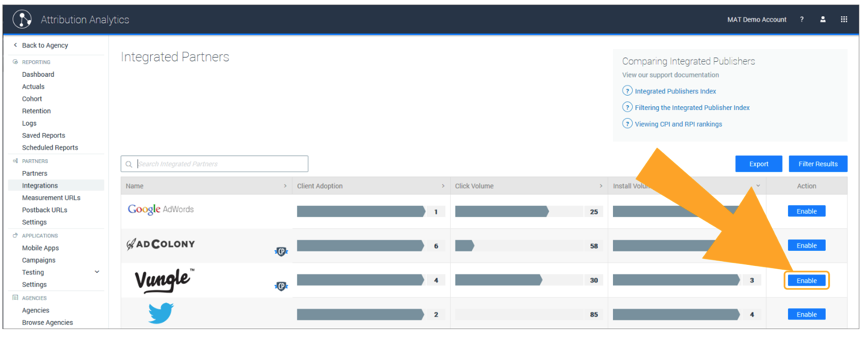
- Choose the data you want to share with Vungle.
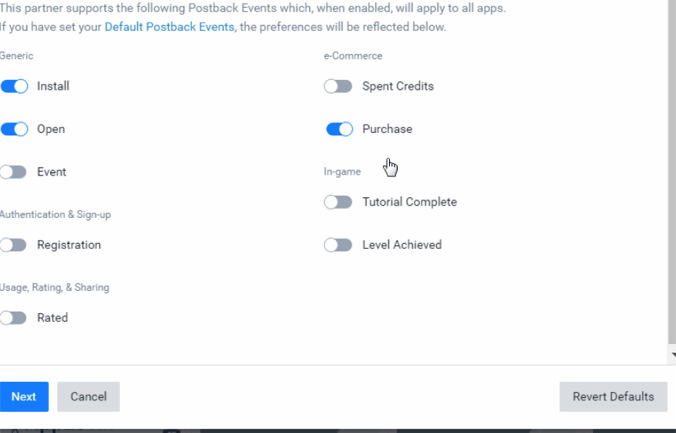
- After you select the events, create postbacks for each event and each platform.
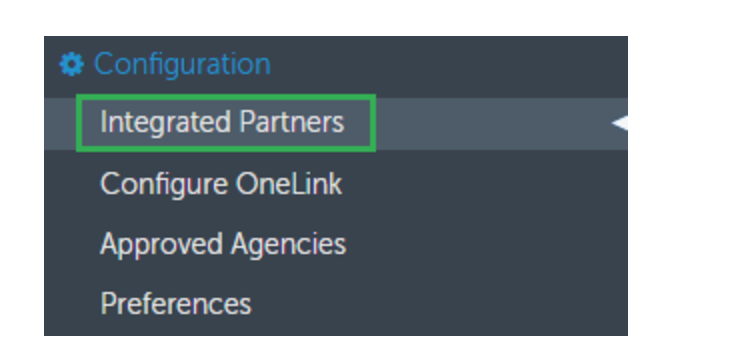
- You can add more PIE data later on by searching in the Integrated Partners tab.
For a complete list of Vungle tracking macros and help, visit the Tracking URL Macros page.